
This post is part of the series 30 Days of Vue.
In this series, we're starting from the very basics and walk through everything you need to know to get started with Vue. If you've ever wanted to learn Vue, this is the place to start!

This post is part of the series 30 Days of Vue.
In this series, we're starting from the very basics and walk through everything you need to know to get started with Vue. If you've ever wanted to learn Vue, this is the place to start!
Today, we'll look at Vue’s official testing library called Vue Test Utils that makes testing fun and relatively easy.
Yesterday, we constructed our tests through simple assertions that involved either mounting the component constructor or invoking the component data function. Although this worked well, testing can become a bit cumbersome when more complicated functionality needs to be tested. Vue Test Utils is a testing utility library created and maintained by the Vue core team that offers a nicer, higher-level API for dealing with Vue components under test.
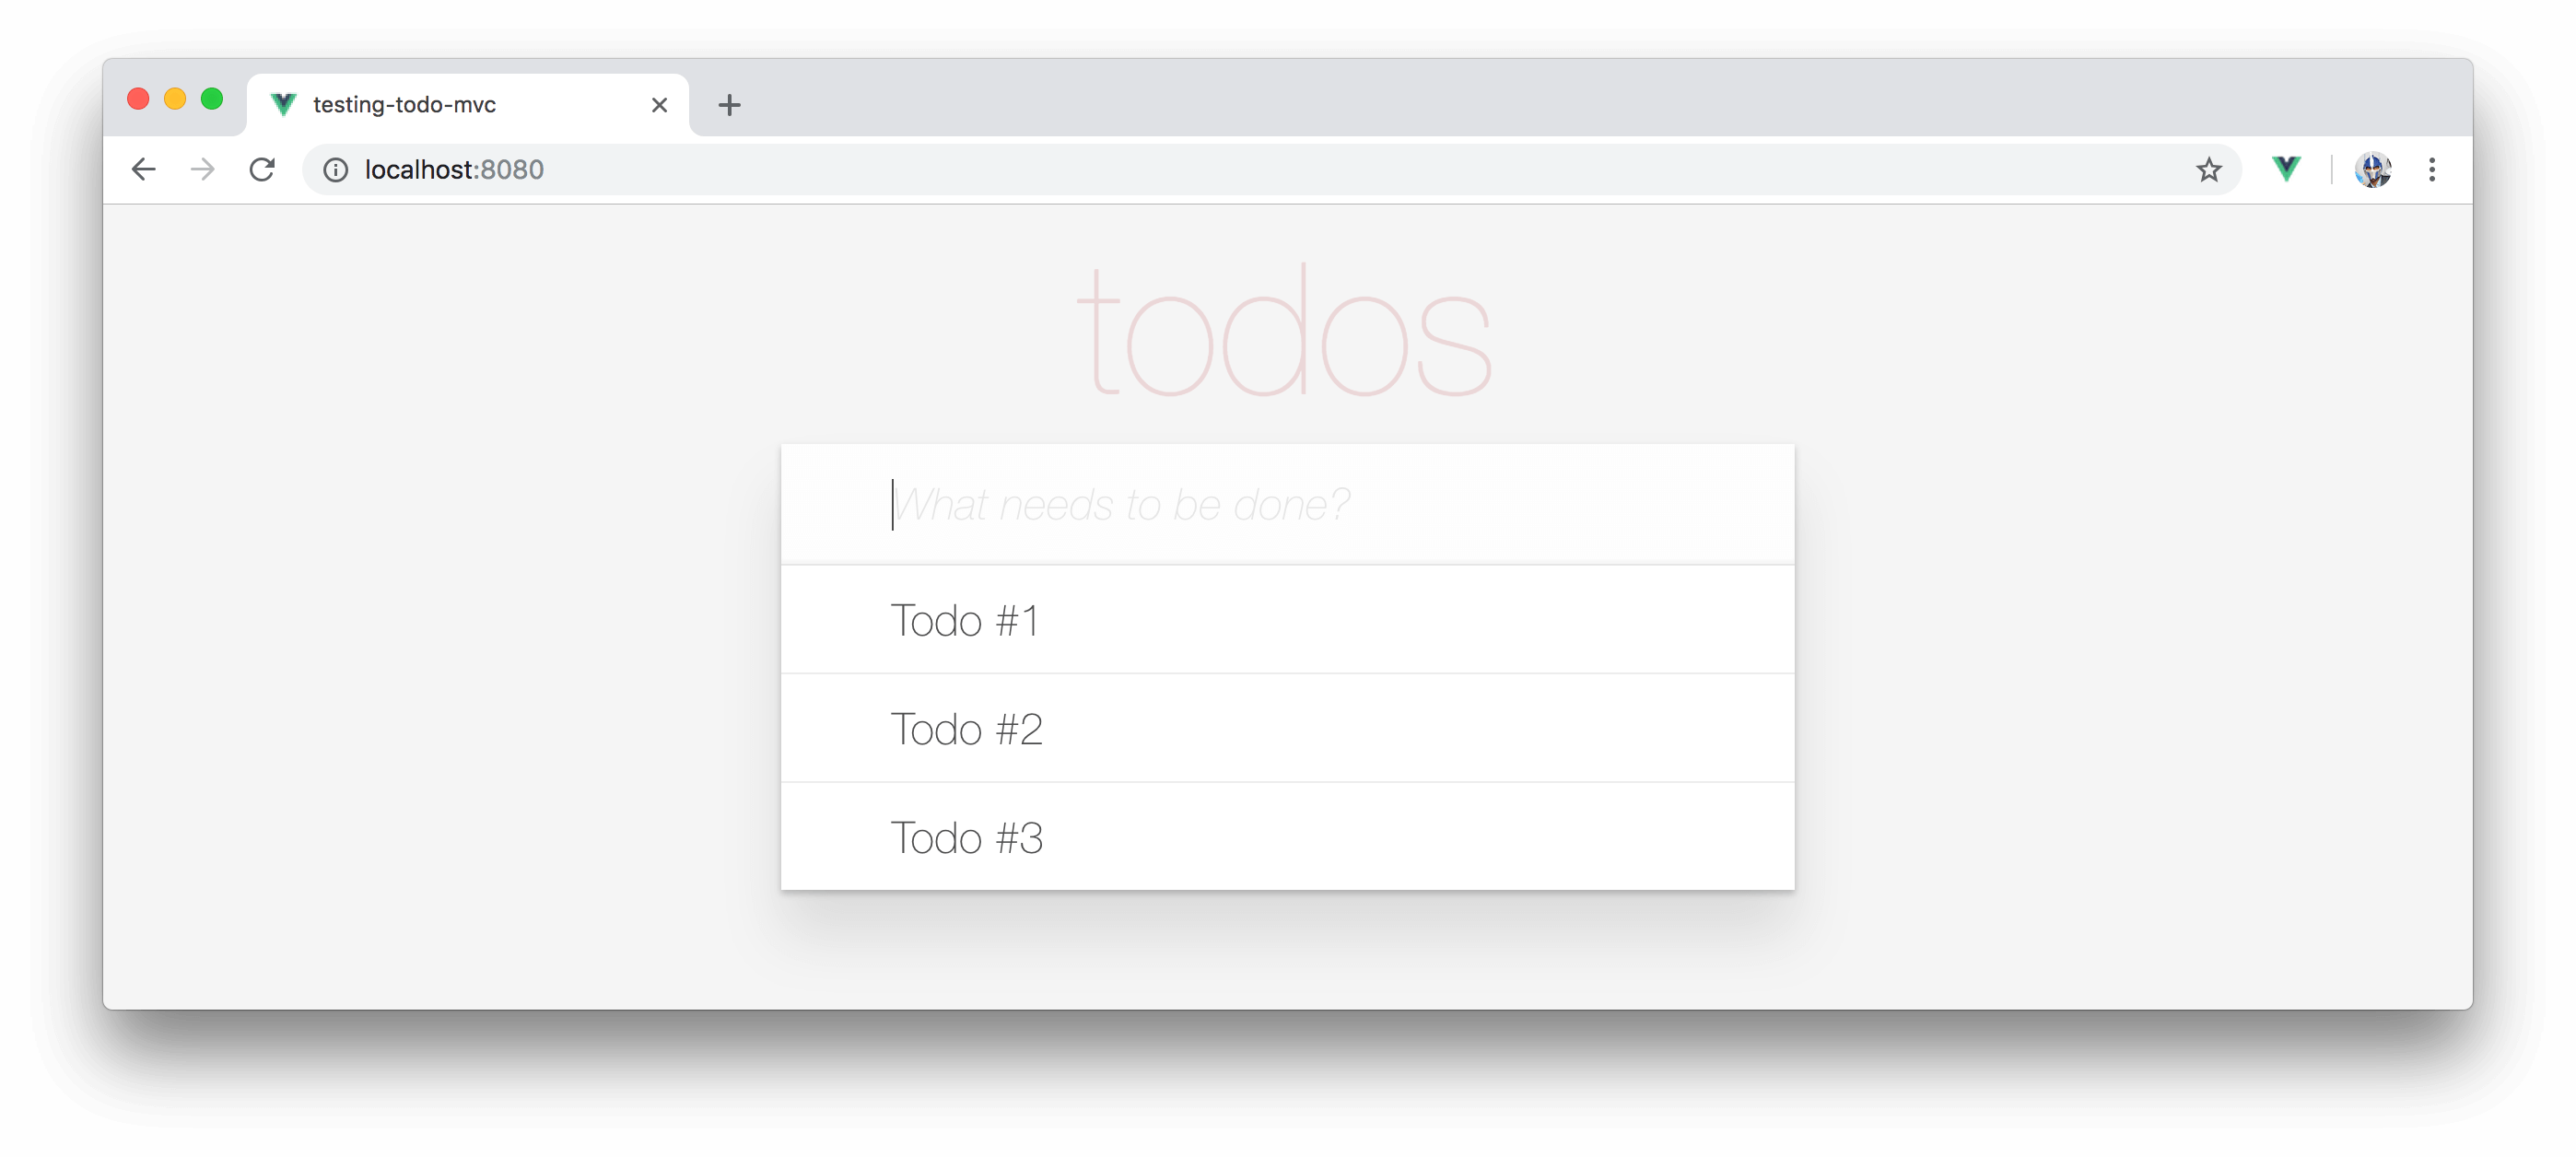
In the last article, we were testing against an App component which rendered a simple todo list.
Yesterday, we wrote our first two tests as the following:
import Vue from 'vue';
import App from '@/App';

describe('App.vue', () => {
  it('should render correct contents', () => {
    const Constructor = Vue.extend(App);
    const vm = new Constructor().$mount();

    expect(vm.$el.querySelector('.title').textContent)
      .toBe('todos');
    expect(vm.$el.querySelector('.new-todo').placeholder)
      .toBe('What needs to be done?');
  });

  it('should set correct default data', () => {
    const initialData = App.data();

    expect(initialData.todos).toEqual([]);
    expect(initialData.newTodo).toEqual('');
  });
});
Let's see what these tests look like when we rewrite it with the Vue Test Utils library.
Since Vue Test Utils is an external library we want to introduce, we’ll first usually need to install it into our application.
npm install @vue/test-utils --save-dev
Vue Test Utils allows us to test the output of just a single component (e.g. App) rather than testing the entire complete component tree. This is often called shallow rendering and basically means that if the parent App component had any children, they wouldn’t be rendered in our tests.
Vue Test Utils makes shallow rendering super easy by allowing us to use the shallowMount() function to mount our component.
Let’s update the src/App.spec.js file to include the shallowMount() function from Vue Test Utils. We won’t have the need to import the Vue library itself anymore as well.
import App from '@/App';
import { shallowMount } from '@vue/test-utils';

describe('App', () => {
  it('should render correct contents', () => {
    // our old tests
  });

  it('should set correct default data', () => {
    // our old tests
  });
});
Shallow? Mount?
The advantages behind shallow rendering is the enforcement of testing the component in isolation and it being a faster approach overall. Since
Appdoesn’t render any children components of its own - normal mounting with themount()function from Vue Test Utils will achieve a similar result here.
To render our component, we can use the shallowMount() method and store the result in a variable. Then, we'll query the rendered component for different HTML elements that are rendered inside its virtual DOM.
Our first test will be comprised of only a few lines:
import App from '@/App';
import { shallowMount } from '@vue/test-utils';

describe('App', () => {
  it('should render correct contents', () => {
    let wrapper = shallowMount(App);
    expect(wrapper.find('.title').text())
      .toBe('todos');
    expect(wrapper.find('.new-todo').element.placeholder)
      .toBe('What needs to be done?');
  });

  it('should set correct default data', () => {
    // our old tests
  });
});
We’re using the test utility wrapper find() method to return a wrapper of the HTML elements we’re looking for. For the header title, we’re then simply able to use the wrapper text() method to return the text content of the title element. For the input field, since a placeholder method doesn’t exist in Vue Test Utils, we retrieve the element from wrapper.find('new-todo') from which we can get the placeholder.
Our second test would be fairly simple as well. With Vue Test Utils, we’re able to access the properties of an instance with wrapper.vm. With wrapper.vm available to us, we can directly access the component todos and newTodo data properties to create our assertions:
import App from '@/App';
import { shallowMount } from '@vue/test-utils';

describe('App', () => {
  it('should render correct contents', () => {
    let wrapper = shallowMount(App);
    expect(wrapper.find('.title').text())
      .toBe('todos');
    expect(wrapper.find('.new-todo').element.placeholder)
      .toBe('What needs to be done?');
  });

  it('should set correct default data', () => {
    let wrapper = shallowMount(App);
    expect(wrapper.vm.todos).toEqual([]);
    expect(wrapper.vm.newTodo).toEqual('');
  });
});
We can run our tests in the same manner as we've done before by using the test:unit script available in our project.
npm run test:unit
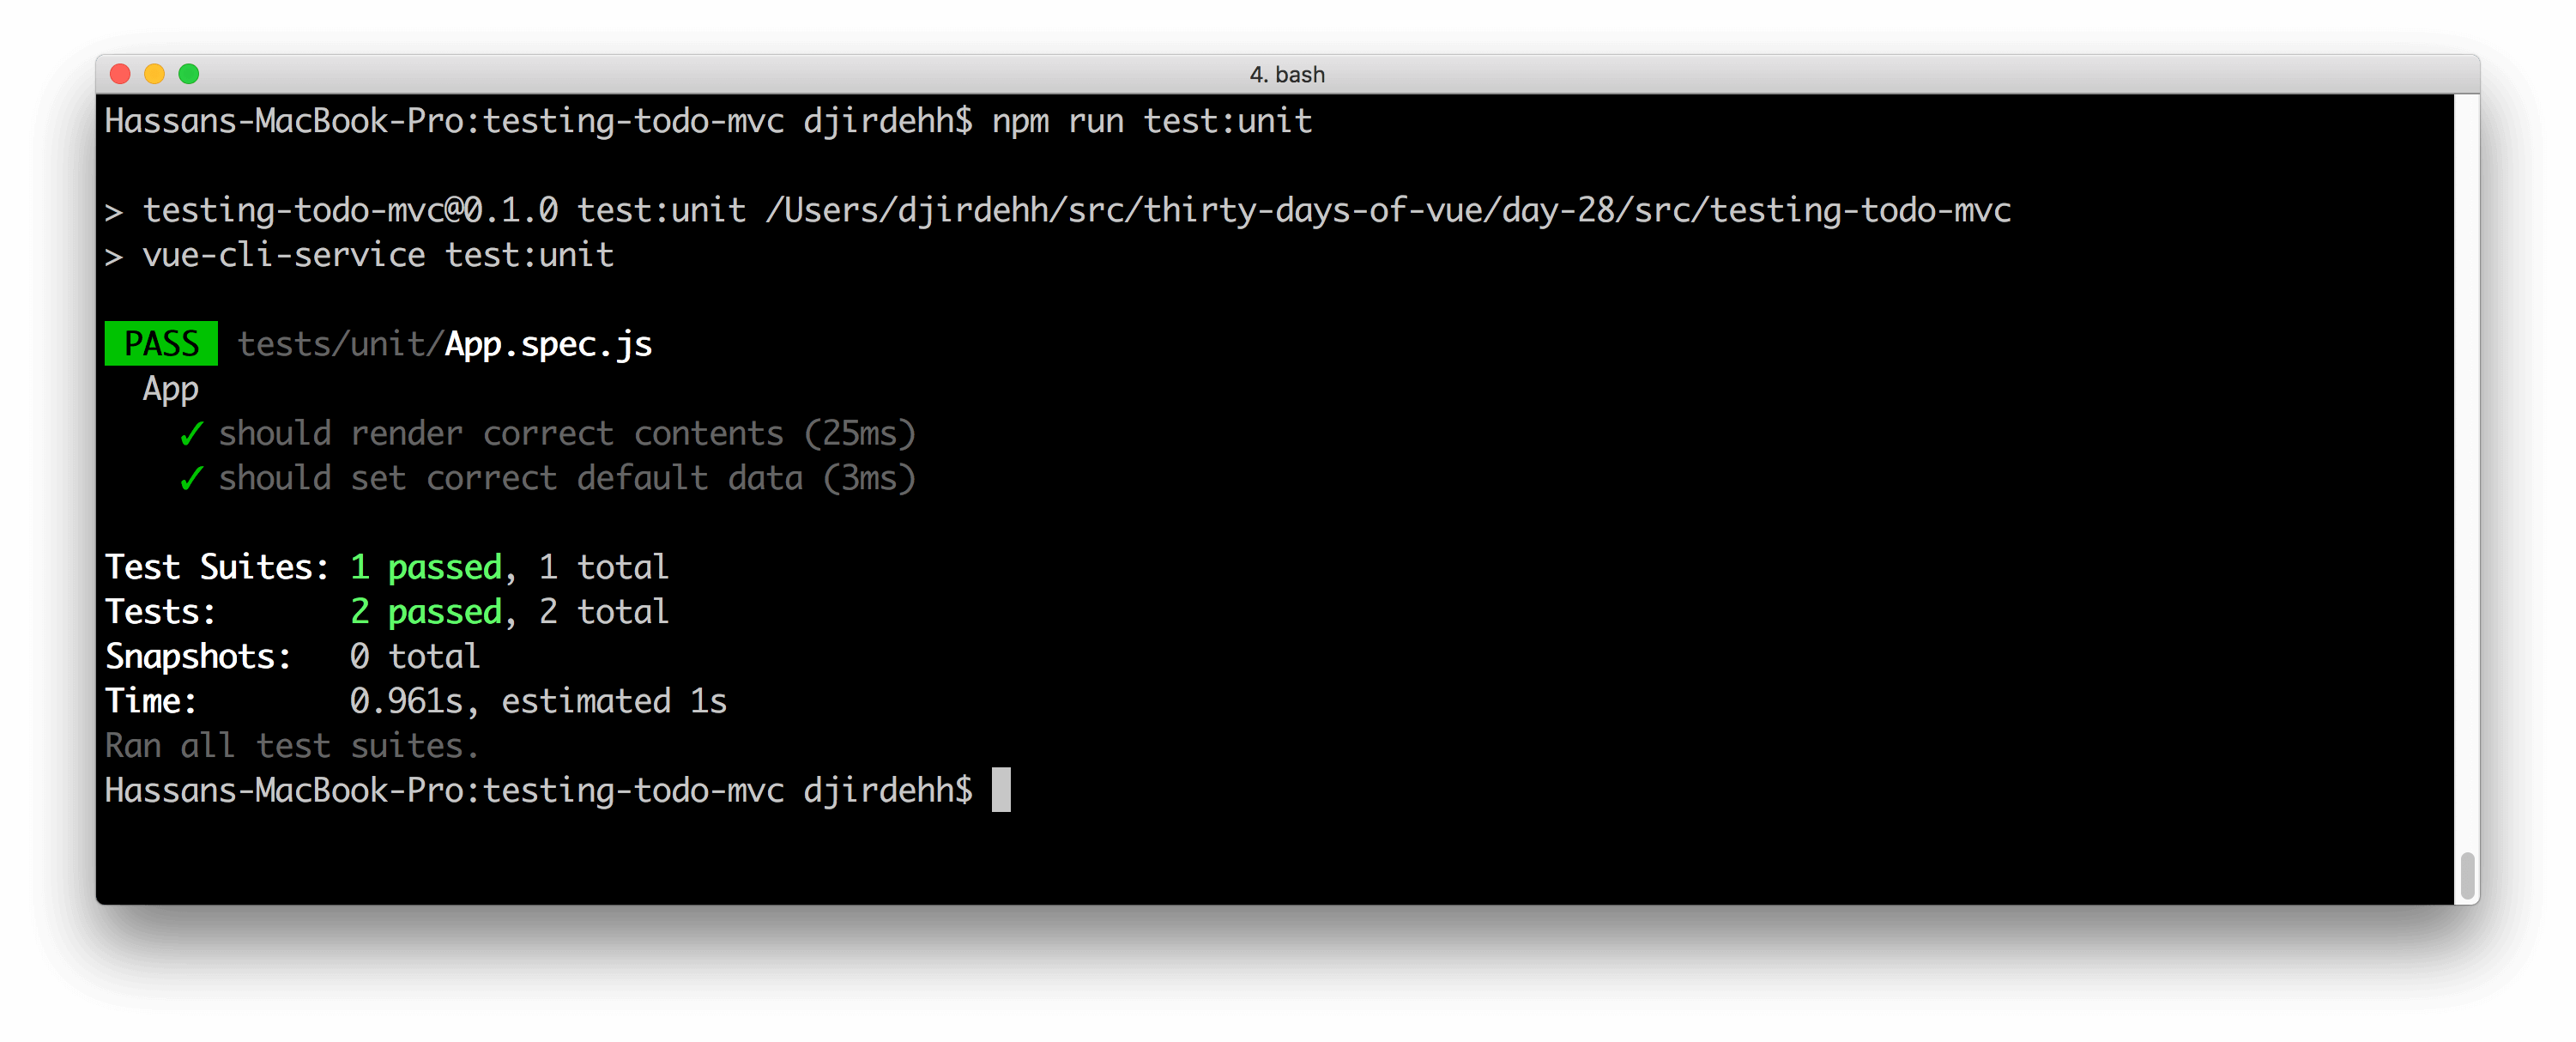
Our tests pass and are now more maintainable moving forward!
Let's continue writing assertions. We’ll declare a few more assumptions that we expect our upcoming tests to address:
newTodo data property.todo item to the todos array.todos array.We'll structure the rest of our test suite first by writing out our describe and it blocks. We'll fill out the specs with assertions after. Since we’ll need the shallow mounted wrapper for every test, we can initialize the mounting process in the Jest beforeEach() function which would run before every unit test. With all that said, our test suite will now be structured as the following:
import App from '@/App';
import { shallowMount } from '@vue/test-utils';

describe('App', () => {
  let wrapper;

  beforeEach(() => {
    wrapper = shallowMount(App);
  });

  it('should render correct contents', () => {
    let wrapper = shallowMount(App);
    expect(wrapper.find('.title').text())
      .toBe('todos');
    expect(wrapper.find('.new-todo').element.placeholder)
      .toBe('What needs to be done?');
  });

  it('should set correct default data', () => {
    expect(wrapper.vm.todos).toEqual([]);
    expect(wrapper.vm.newTodo).toEqual('');
  });

  describe('user populates the text input field', () => {
    it('should update "newTodo"', () => {});

    describe('and presses Enter', () => {
      it('should add a new todo to "todos"', () => {});
    });

    describe('and presses Enter + removes todo', () => {
      it('should have the new todo removed', () => {});
    });
  });
});
If we were following Test Driven Development (or TDD for short), we would write these assumptions first and then build the component to pass these tests.
Let's fill in these tests so that they pass against our existing App component.
The interactions a user can have with our app has to start with first populating the input field to add a new item. We want to simulate this behavior in the next set of specs. To avoid the repetition of finding the input, updating the value, and triggering an event for each remaining test; we can extrapolate this set-up to a beforeEach() function in the nested describe() block:
import App from '@/App';
import { shallowMount } from '@vue/test-utils';

describe('App', () => {
  let wrapper;

  // ...

  describe('user populates the text input field', () => {
    let inputField;


    beforeEach(() => {
      inputField = wrapper.find('.new-todo');
      inputField.element.value = 'New Todo';
      inputField.trigger('input');
    });

    it('should update "newTodo"', () => {});

    describe('and presses Enter', () => {
      it('should add a new todo to "todos', () => {});
    });

    describe('and presses Enter + removes todo', () => {
      it('should have the new todo removed', () => {});
    });
  });
});
In the newly created beforeEach function, we’re simulating the behavior of how a user creates an input event by:
input wrapper with .find().input DOM element to ‘New Todo’.trigger() method to fire off the input event and simulate actual user interaction.We’re now able to write specs related to the context where the user has just populated the input field. Our first upcoming test is fairly simple since we want to assert that when the user populates the text input field, it updates the newTodo data property in the component.
This page is a preview of 30 Days of Vue
Get the rest of this chapter and 330+ pages of Vue instruction for free.
The entire source code for this tutorial series can be found in the GitHub repo, which includes all the styles and code samples.
If at any point you feel stuck, have further questions, feel free to reach out to us by:
