This post is part of the series 30 Days of Vue.
In this series, we're starting from the very basics and walk through everything you need to know to get started with Vue. If you've ever wanted to learn Vue, this is the place to start!

This post is part of the series 30 Days of Vue.
In this series, we're starting from the very basics and walk through everything you need to know to get started with Vue. If you've ever wanted to learn Vue, this is the place to start!
The majority of large-scale applications we tend to create will usually have multiple views be kept in different routes. Today, we'll discuss client-side routing and set up the starting point of the routing application we'll build.
Most large-scale applications we use today tend to have multiple views be separated and kept in different URL routes. For instance, an application might have a login view where a user can log in or a search results page that shows a user a list of their search results. These are two different views with two different page structures.
In today's and tomorrow's article, we'll discuss and build an application that has multiple views with the help of the Vue Router library. The app we'll build will be an adaptation of an application first built as part of the Let’s Build a Custom Vue Router article originally posted on CSS-Tricks.
First and foremost: let’s define routing for those who may be new to the concept.
In web development, routing often refers to splitting an application’s UI based on rules derived from the browser URL. Imagine clicking a link and having the URL go from https://website.com to https://website.com/article/. That’s routing.
Routing is often categorized in one of two main buckets:
Client-side routing is where the term single-page application (or SPA for short) comes in. SPAs are web apps that load only once and are dynamically updated with user interaction without the need to make subsequent requests to the server. In modern SPAs, JavaScript is often the driving force that dynamically renders different UI.
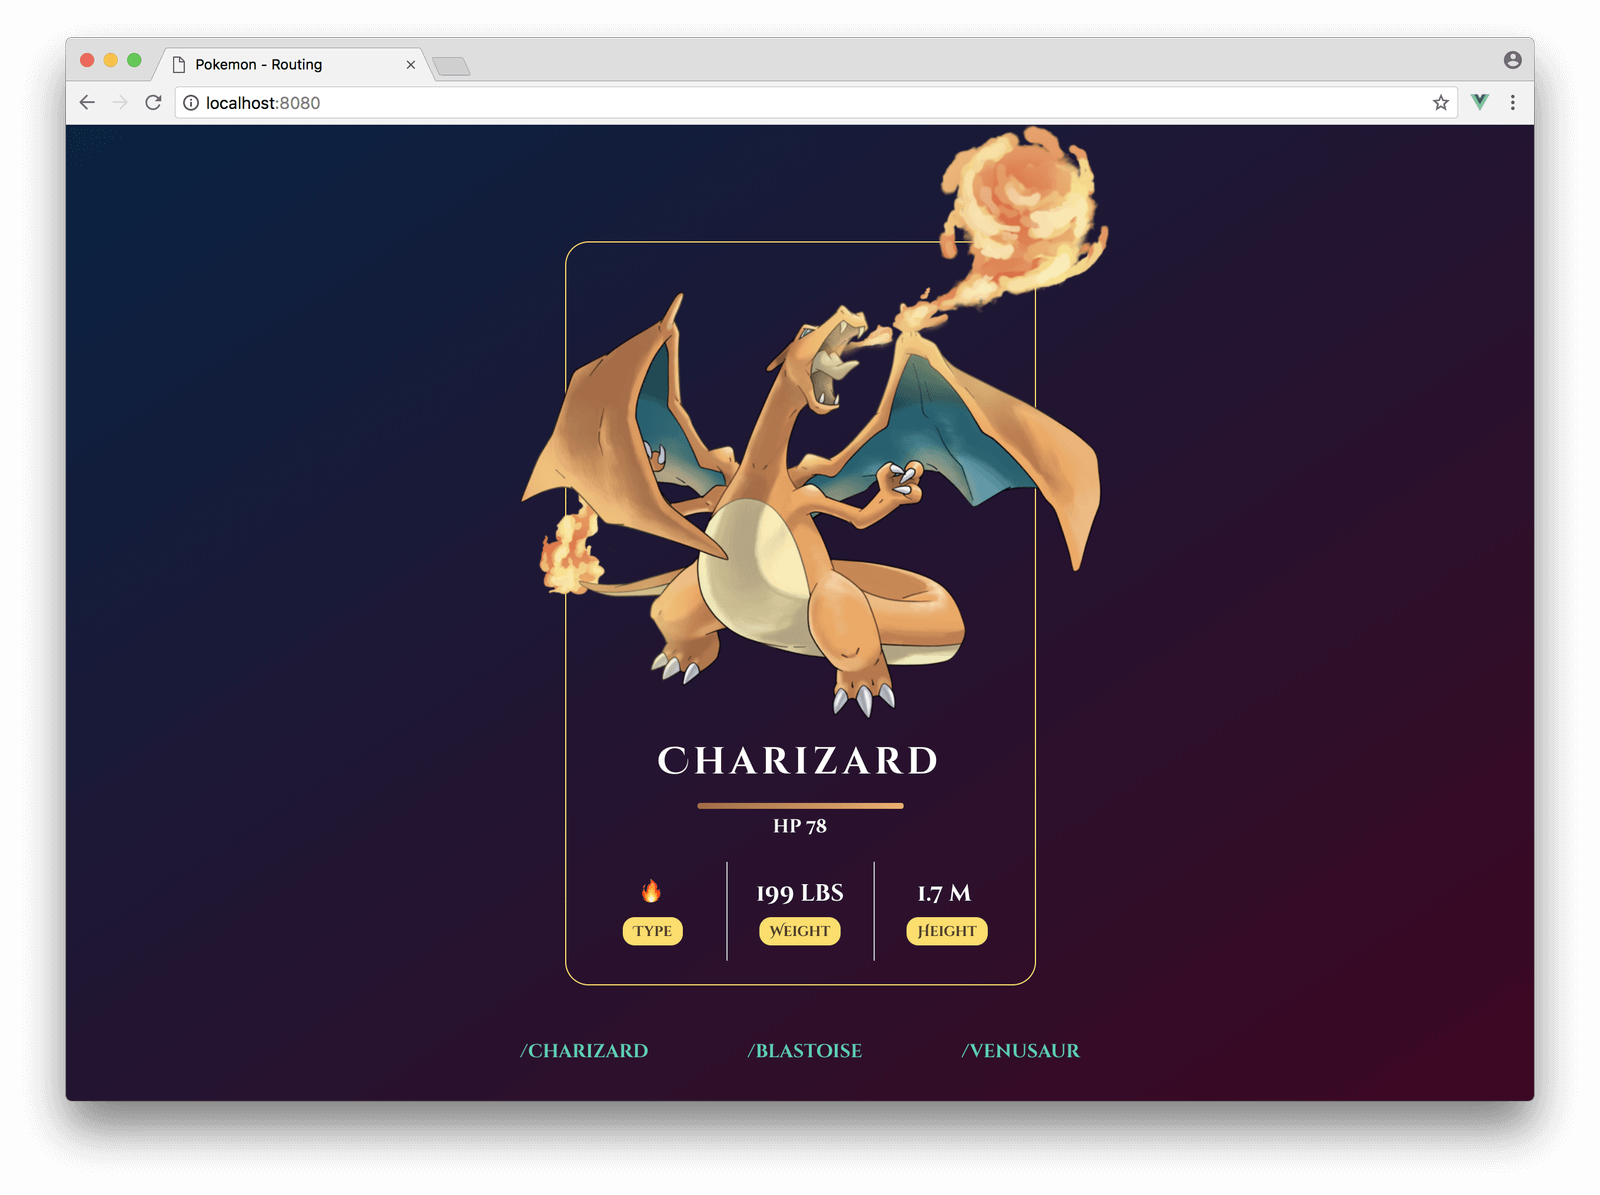
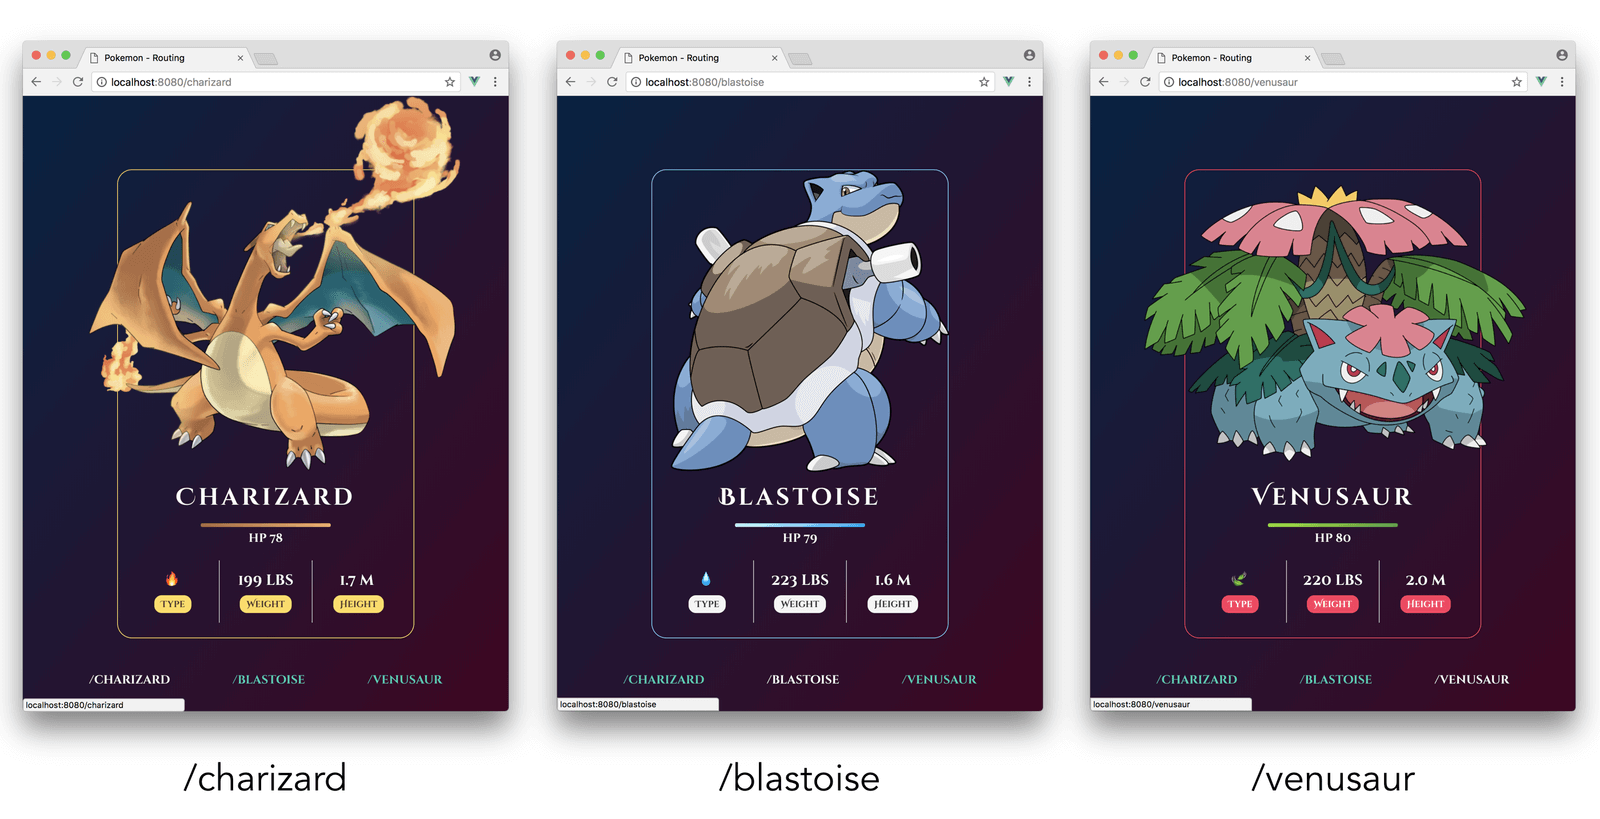
All the apps we’ve built in this course have all been limited to a single view. By the end of tomorrow’s article, we’ll look to have constructed a simple Pokémon routing app that displays details of a particular Pokémon based on the URL route.

The application will have three unique URL routes: /charizard, /blastoise, and /venusaur. Based on the URL route entered, a different Pokémon will be shown.

Footer links will exist at the bottom of the application to direct the user to each respective route upon click.
We could build this application without the need of routes and instead use a simple parent-child component hierarchy that uses props to dictate the information that should be displayed. You can see this in the Codepen example here: Pokémon App - Props.
Though the props version of the Pokémon app works, it misses a substantial feature that’s expected from most web applications - responding to browser navigation events. We’d want our Pokémon app to be accessible and to show different details for different pathnames: /charizard, /blastoise, and /venusaur. This would allow users to refresh different pages and keep their location in the app, bookmark the URLs to come back to later, and potentially share the URL with others.
To save us some time for the next article and not concern ourselves with how the views in our app are to be semantically arranged; assume we are to begin with three separate component files with each file representing the markup and static information of a single Pokémon:
src/
  components/
    BlastoiseCard.vue
    CharizardCard.vue
    VenusaurCard.vue
App.vue
main.js
Each Pokémon component will be a simple presentational component that has almost the exact same markup to every other Pokémon component. The only difference would be the static Pokémon information shown in the components. As an example, here’s how the CharizardCard.vue file will be set up:
This page is a preview of 30 Days of Vue
Get the rest of this chapter and 330+ pages of Vue instruction for free.
The entire source code for this tutorial series can be found in the GitHub repo, which includes all the styles and code samples.
If at any point you feel stuck, have further questions, feel free to reach out to us by: