This post is part of the series 30 Days of Vue.
In this series, we're starting from the very basics and walk through everything you need to know to get started with Vue. If you've ever wanted to learn Vue, this is the place to start!

This post is part of the series 30 Days of Vue.
In this series, we're starting from the very basics and walk through everything you need to know to get started with Vue. If you've ever wanted to learn Vue, this is the place to start!
Today's session will be the first of a series of articles discussing different methods to managing application wide data. We'll begin by reintroducing props and custom events before taking a look at how a global EventBus can facilitate application wide communication.
Handling data inside a client-side application often begins as a simple process but can end up becoming a seemingly complex task. Today, we’ll begin a three-part series on the different ways we can think about managing application wide data. This three-part series was originally published as the single article - Managing State in Vue.js.
We'll begin today's article by reintroducing how props and custom events allow us to communicate information between parent and child components.
From what we’ve seen so far, we know that Vue components are the building blocks of Vue applications since they allow us to couple markup (HTML), logic (JS), and styles (CSS) within them.
Here’s an example of a single-file component that displays a series of numbers from a data property.
<template>
  <div>
    <h2>The numbers are {{ numbers }}!</h2>
  </div>
</template>

<script>
export default {
  name: 'NumberComponent',
  data () {
    return {
      numbers: [1, 2, 3]
    }
  },
}
</script>
numbers is the array stored within the data() function of NumberComponent. What if numbers needed to be accessed from another component? For example, we may need a component to be responsible in displaying numbers (like above) and another to manipulate the value of numbers.
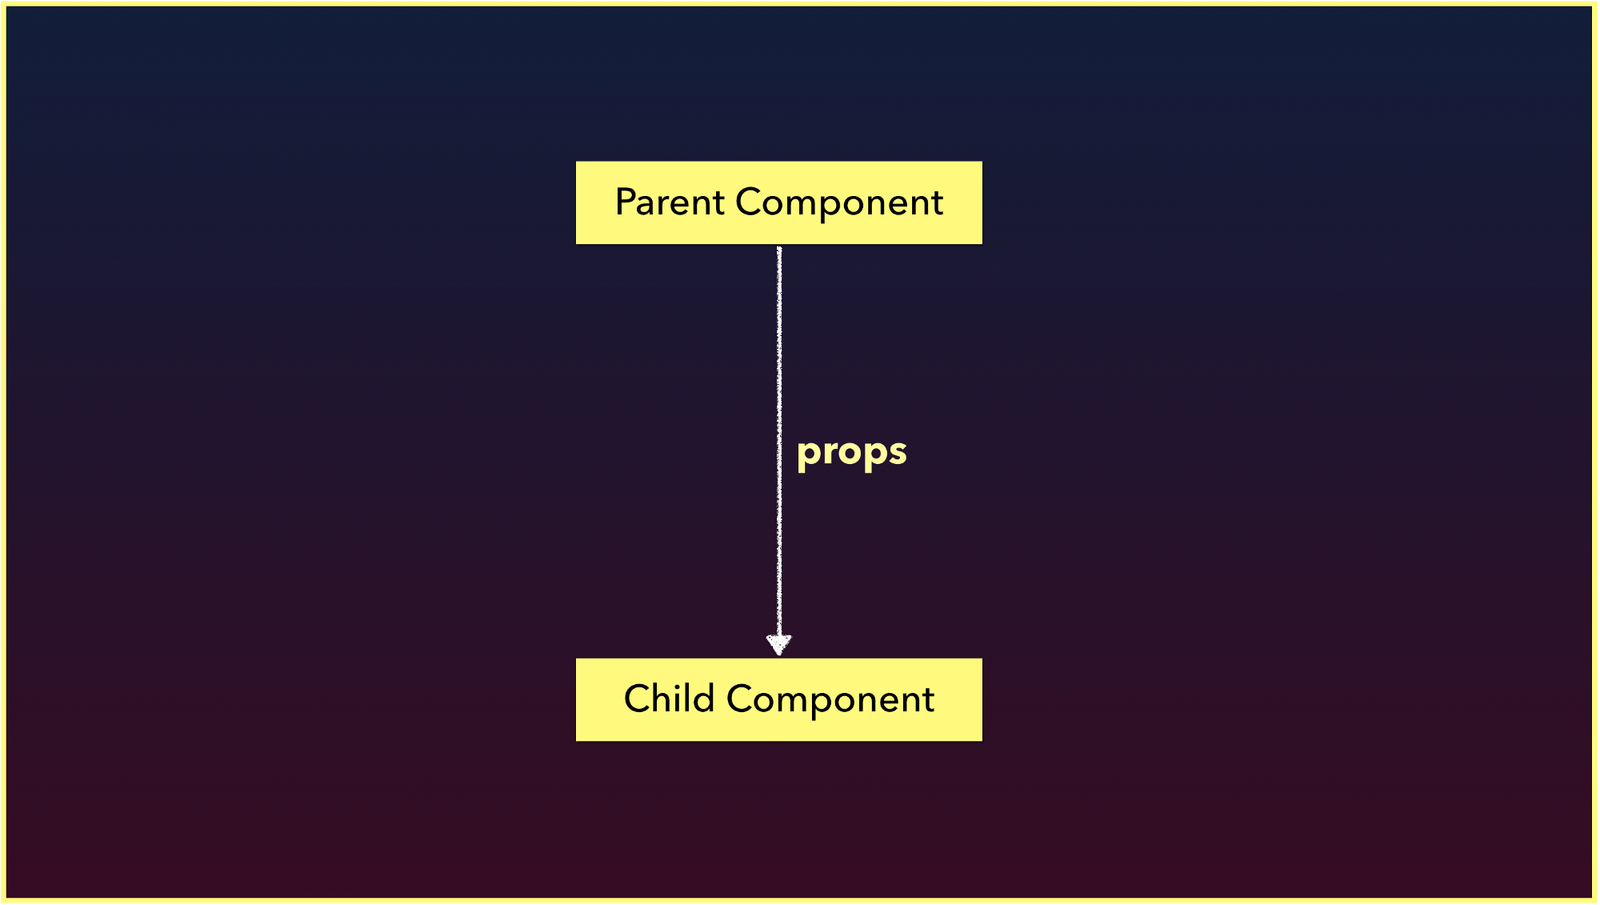
To see how numbers can be accessed between two components, we'll replicate what NumberComponent is doing with a ParentComponent and a ChildComponent. We’ll have ParentComponent pass the numbers array to ChildComponent where ChildComponent will render the numbers value. As we’ve seen from before, Vue gives us the ability to use props to pass data from the parent down to the child.
<template>
  <div>
    <ChildComponent :numbers="numbers" />
  </div>
</template>

<script>
import ChildComponent from "./ChildComponent";

export default {
  name: "ParentComponent",
  data() {
    return {
      numbers: [1, 2, 3]
    };
  },
  components: {
    ChildComponent
  }
};
</script>
<template>
  <div>
    <h2>{{ numbers }}</h2>
  </div>
</template>

<script>
export default {
  name: "ChildComponent",
  props: {
    numbers: Array
  }
};
</script>
The ParentComponent passes the numbers array as props of the same name down to ChildComponent. ChildComponent simply binds the value of numbers on to its template with the help of the Mustache syntax.
In the application UI, we'll simply be presented with the value of the numbers array.
Awesome! Regardless of how large our application gets, using props to pass data downwards often remains somewhat the same.

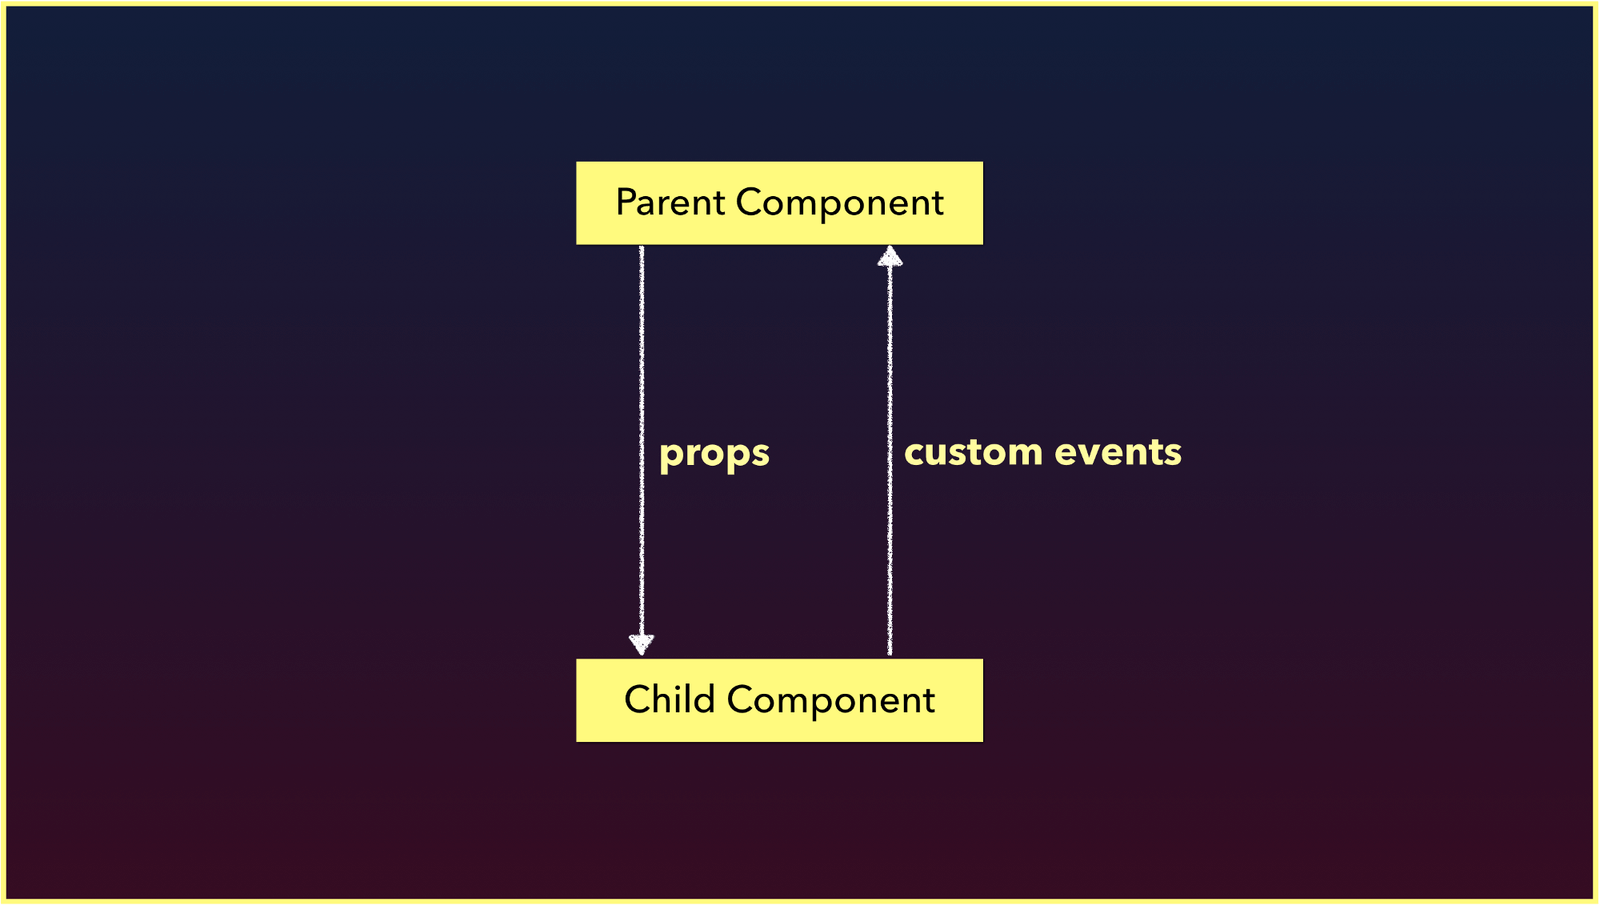
What if we needed to find a way to communicate information in the opposite direction? An example of this could be allowing the user to introduce a new number to the array presented in the example above from the child component. We can’t use props since props can only be used to pass data in a uni-directional format (from parent down to child down to grandchild…). To facilitate having the child component notify the parent about something, we can use Vue custom events.

We'll use custom events to have ChildComponent be able to facilitate a change to the ParentComponent's numbers data property.
<template>
  <div>
    <h2>{{ numbers }}</h2>
    <input v-model="number" type="number" />
    <button
      @click="$emit('number-added', Number(number))">
      Add new number
    </button>
  </div>
</template>

<script>
export default {
  name: "ChildComponent",
  props: {
    numbers: Array
  },
  data() {
    return {
      number: 0
    };
  }
};
</script>
<template>
  <div>
    <ChildComponent
      :numbers="numbers"
      @number-added="numbers.push($event)"
    />
  </div>
</template>

<script>
import ChildComponent from "./ChildComponent";

export default {
  name: "ParentComponent",
  data() {
    return {
      numbers: [1, 2, 3]
    };
  },
  components: {
    ChildComponent
  }
};
</script>
The ChildComponent has an input that captures a number value and a button, that upon click, emits a number-added custom event with the captured number value. On the ParentComponent, a custom event listener denoted by @number-added, is specified where the child component is being rendered. When this event is emitted in the child, it pushes the number value from the event to ParentComponent's numbers array.
If we type a number in the input and click the 'Add new number' button, the number will be added to the numbers array that’s being displayed.
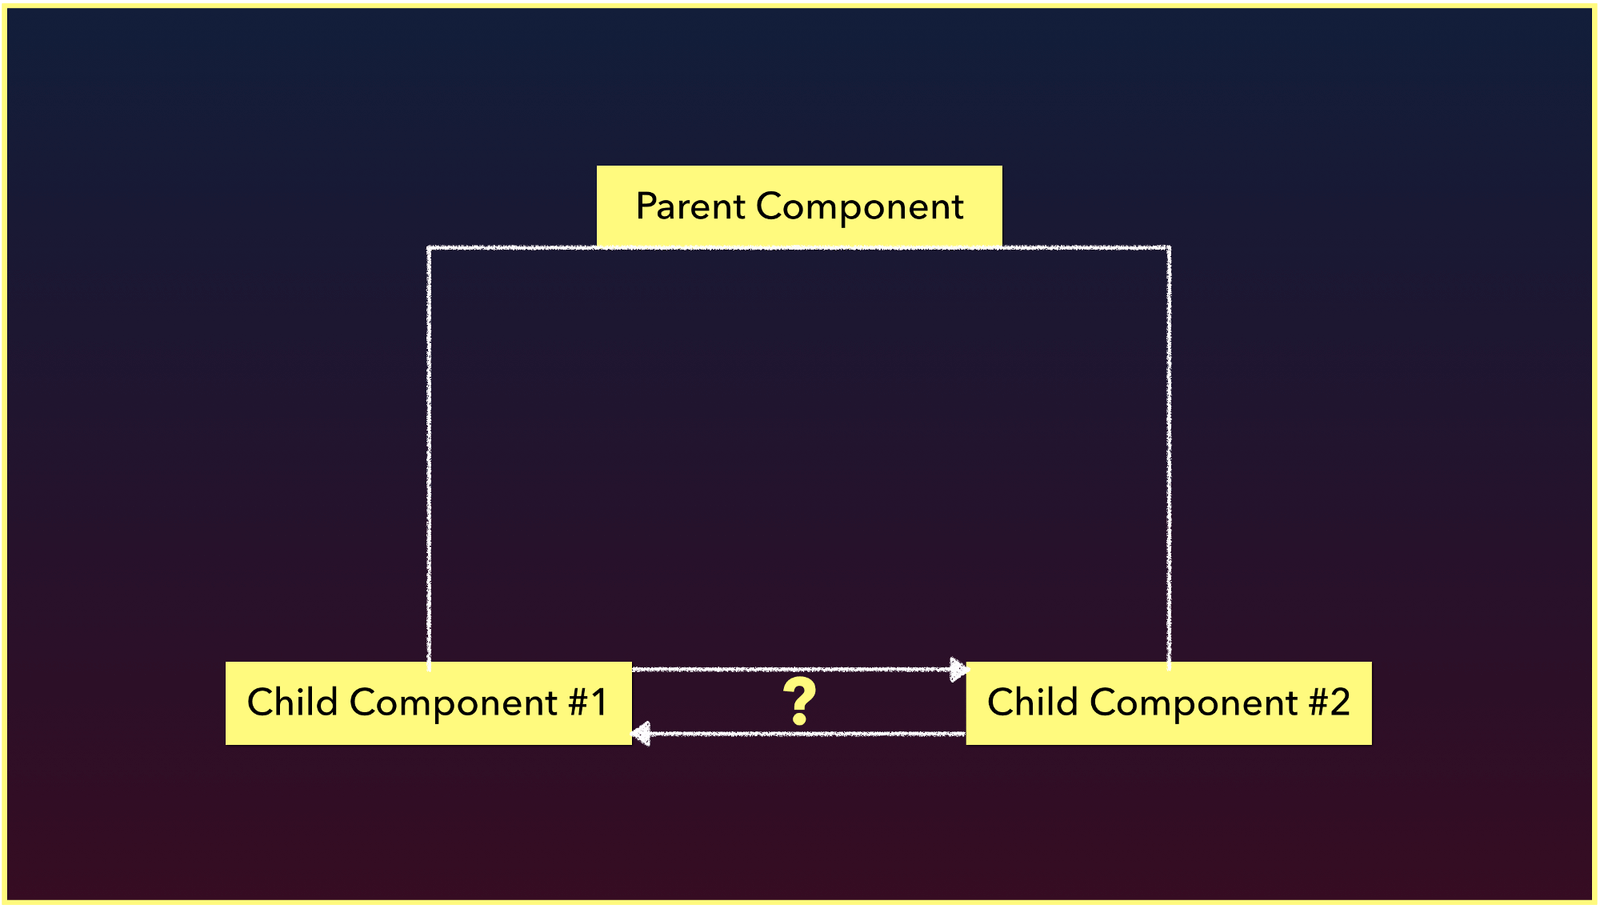
We can use props to pass data downwards and custom events to send messages upwards. How would we be able to either pass data or facilitate communication between two different sibling components?

We can’t use custom events the way we have above because those events are emitted within the interface of a particular component, and as a result the custom event listener needs to be declared on where the component is being rendered. In two isolated components, one component isn’t being rendered within the other.
There are roughly 3 main ways we can begin to manage information between sibling components and as a result start to handle application wide state management:
In today’s article, we’ll only take a look at how a global EventBus works.
An EventBus is a Vue instance that is used to enable isolated components to subscribe and publish custom events between one another.
Wait… didn’t we just say isolated components can’t trigger and listen to custom events between one another? They normally can’t, but an EventBus helps us achieve this by being made global for this purpose.
This page is a preview of 30 Days of Vue
Get the rest of this chapter and 330+ pages of Vue instruction for free.
The entire source code for this tutorial series can be found in the GitHub repo, which includes all the styles and code samples.
If at any point you feel stuck, have further questions, feel free to reach out to us by: